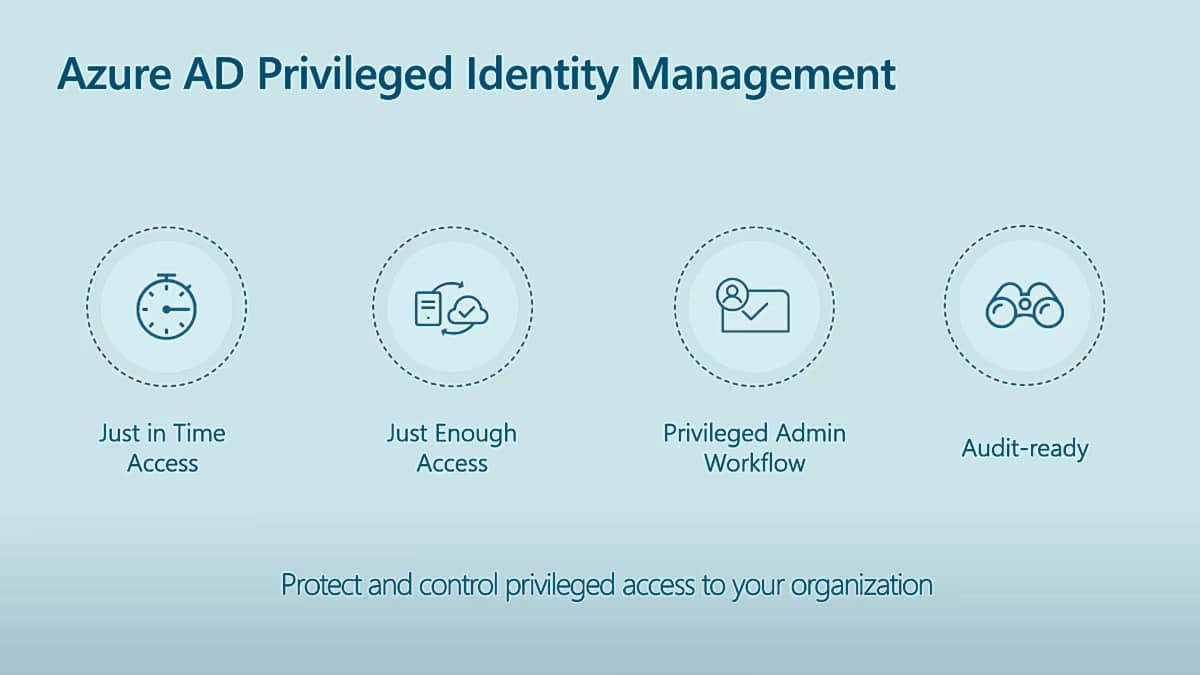
So, what is Azure AD Privileged Identity Management (PIM)? Users operating within a corporate network cannot be readily trusted with the entirety of an organization’s critical assets. For administrators to enforce crucial access management policies (such as monitoring of usage, limiting of permissions) when a client requests access to a resource for a stipulated amount of time, it is crucial for organizations to enforce privileged access management (PAM).
This article explains how Azure AD’s Privileged Identity Management (PIM) enforces PAM controls within an organizational network.
What is Azure AD Privileged Identity Management?

Azure AD Privileged Identity Management is an Azure AD offering that enables an organization’s Privileged Role Administrator or Global Administrator to manage, monitor, and regulate access to important resources. The resources can be housed in Azure AD and other Microsoft online services such as Microsoft 365 and Microsoft Intune.
If you are interested in understanding how access management works in Active directory, visit the embedded link.
Watch this video on What is Azure AD PIM from the words of the Program Manager of Microsoft Azure AD.
If you are keen to understand Azure AD PIM at a deeper level, visit the Azure AD Privileged Identity Management (PIM) documentation page from Microsoft
Capabilities of Azure AD PI
Azure AD PIM provides organizations the following capabilities, such as:
- Granting just-in-time access to Azure AD and Azure assets.
- Implementing multi-factor authentication to initiate roles.
- Get alerts and notifications post the activation of privileged users.
- Approval-based workflow to delegate privileged resources.
- Providing time-based access to resources via start and end dates.
- Allowing users to provide justification as to why they are requesting a resource.
- Prohibiting removal of the last active Global Administrator and Privileged Role Administrator role assignments.
- Allowing users to create and download audit trail to review access history.
How to set up Azure AD Privileged Identity Management
The main pre-requisites required to set up PIM in Azure AD are:
- Azure AD Premium P2
- Enterprise Mobility + Security (EMS) E5
Setting up Azure AD PIM involves the following steps:
- Enable PIM: Login to Azure AD as as Global administrator or Privileged role administrator. Activate PIM for your Azure AD tenant. To enable PIM, go to the Azure AD portal, navigate to “Privileged Identity Management” from the left-hand menu, and follow the prompts to enable PIM.
- Define roles: Next, define the roles that you want to manage through PIM. This involves creating custom roles, defining permissions, and assigning users to the roles.
- Configure access: Configure access for the roles you created in the previous step. This includes establishing activation and deactivation policies, specifying approval workflows, and defining just-in-time (JIT) access policies.
- Test: Test your PIM configuration to confirm your workflows are implemented well. You can do this by activating a role, completing the necessary approvals, and verifying that the user has the required access.
- Monitor and manage: Finally, monitor and manage your PIM configuration on an ongoing basis to ensure that it remains effective and up to date. This includes reviewing role assignments, monitoring access requests and approvals, and performing regular audits of privileged access.
How PIM fortifies your Azure environment
With Azure AD PIM, administrators can send alerts when there is suspicious or unsafe activity in their organization. These alerts are shown on the PIM dashboard, and when selected, they create a report that lists the users or roles that caused the alert. This helps administrators to identify and respond to any potential security threats or issues concerning their organization’s privileged access. The alerts are divided into three categories:
- High: Requires urgent action due to a policy infringement.
- Medium: Doesn’t require urgent action but flags a potential policy violation.
- Low: Doesn’t require immediate action but puts forth a policy change.
To customize security alerts, follow these steps:
- Open Azure AD Privileged Identity Management.
- From the left menu, click Azure AD Roles.
- From the LHS menu, select Alerts, and then select Setting.
- Now you can create custom alerts to work with your environment and security needs.
With Azure AD’s PIM, administrators can also audit event logs of employees. To perform audit,
- Open Azure AD PIM.
- Select Azure AD roles.
- Open Resource Audit. The audit record will open.
- Filter the required data using custom values (such as predefined date or custom range).
Conclusion
Managing and monitoring privileged access to Azure AD resources is very important for maintaining the security and integrity of the digital assets of an organization. By implementing robust access controls, like role-based access control (RBAC) and just-in-time (JIT) access, organizations can limit the vulnerability of sensitive resources falling into the hands of bad actors. Periodic monitoring and auditing of privileged activities allow for prompt detection and response to any attempts of suspicious or unauthorized access. Furthermore, the use of additional security measures like MFA and PIM adds an extra layer of protection.